Delicious Apple Crisp Recipe – Easy to Make at Home
There’s something special about a homemade dessert that’s both comforting and easy to prepare. Our apple crisp recipe is a perfect example, offering a delicious treat that’s sure to become a family favorite.

This dessert is not only easy to make, but it’s also a great way to enjoy the flavors of the season. With a simple combination of ingredients and straightforward instructions, you’ll be enjoying a warm, comforting apple crisp in no time.
Key Takeaways
- Simple ingredients for a delicious dessert
- Easy to prepare, perfect for any occasion
- A great way to enjoy the flavors of the season
- Comforting and warm, ideal for family gatherings
- Perfect for those who love homemade treats
The History and Appeal of Apple Crisp
The origins of apple crisp are as fascinating as the dessert itself, with its history deeply intertwined with American cuisine. This beloved dessert has been a staple in many American households for generations, offering a delicious and comforting treat that’s easy to prepare.
Origins of Apple Crisp in American Cuisine
Apple crisp, a variation of traditional apple desserts, emerged as a distinct recipe in American cuisine during the early 20th century. Its simplicity and the use of readily available ingredients made it a popular choice for home bakers. The dessert’s evolution is closely tied to the resourcefulness of American homemakers who adapted recipes based on available ingredients, often substituting or omitting items to simplify the cooking process.
Why Apple Crisp Remains a Beloved Dessert
The enduring popularity of apple crisp can be attributed to its comforting flavors and the nostalgia it evokes. It’s a dessert that reminds many of home and family gatherings. The combination of tender apples, crunchy oat topping, and the warmth it brings to the table makes it a favorite across generations.
How Apple Crisp Differs from Apple Cobbler and Pie
While apple crisp, apple cobbler, and apple pie are all delicious desserts, they have distinct differences. The table below highlights these differences:
| Dessert | Topping/Crust | Texture | Baking Method |
|---|---|---|---|
| Apple Crisp | Oat and brown sugar crumble | Crunchy topping, tender apples | Baked until topping is golden brown |
| Apple Cobbler | Biscuit or dough topping | Soft, sometimes cakey topping | Baked until topping is cooked through |
| Apple Pie | Pastry crust | Flaky crust, tender apples | Baked until crust is golden |
Each of these desserts offers a unique experience, with apple crisp standing out for its simplicity and the delightful contrast between the soft apples and crunchy topping.
Essential Ingredients for the Perfect Apple Crisp
To make an exceptional apple crisp, you need to start with the best ingredients. The quality and combination of these ingredients will determine the flavor, texture, and overall success of your dessert.
Best Apple Varieties for Crisp
The choice of apple variety is crucial for a great apple crisp. Granny Smith apples are a popular choice due to their tart flavor and firm texture, which holds up well to baking. Other good options include Fuji, Golden Delicious, and Honeycrisp apples. Using a mix of sweet and tart apples can create a more complex and interesting flavor profile.
Key Ingredients for the Topping
The topping is what gives apple crisp its signature crunch. The key ingredients for the topping include rolled oats, all-purpose flour, brown sugar, and cold butter. The cold butter is crucial as it helps to create a crumbly texture when baked. Adding walnuts or pecans can enhance the flavor and texture of the topping.
Optional Flavor Enhancers
To give your apple crisp an extra boost of flavor, consider adding optional ingredients such as cinnamon, nutmeg, or vanilla extract. These spices and extracts can complement the natural flavors of the apples and add depth to the dessert.
Ingredient Substitutions
For those with dietary restrictions or preferences, there are several ingredient substitutions you can make. For example, you can use gluten-free oats for a gluten-free version, or coconut sugar as an alternative to brown sugar. If you’re looking for a dairy-free option, consider using coconut oil instead of butter.
Kitchen Tools and Equipment You’ll Need
The right kitchen tools can make all the difference in preparing a mouth-watering apple crisp. To ensure a smooth baking process, it’s essential to have the necessary equipment on hand.
Essential Baking Tools
To start, you’ll need a few essential baking tools. A 9×9-inch baking dish is a must-have for creating the perfect apple crisp. Additionally, a mixing bowl, measuring cups, and a wooden spoon or spatula are necessary for mixing the ingredients. As
“The right tool for the job makes all the difference.”
, having these essentials will simplify the process.
Optional Equipment for Convenience
While not necessary, some optional equipment can make the process more convenient. A peeler can save time when preparing apples, and a pastry blender can help mix the topping ingredients efficiently. If you have these tools, they can be quite handy.
Alternatives for Common Kitchen Tools
If you don’t have certain kitchen tools, there are alternatives you can use. For instance, if you don’t have a 9×9-inch baking dish, you can use a similar-sized oven-safe container. Similarly, if you lack a pastry blender, you can use your fingers or two knives to mix the topping ingredients.
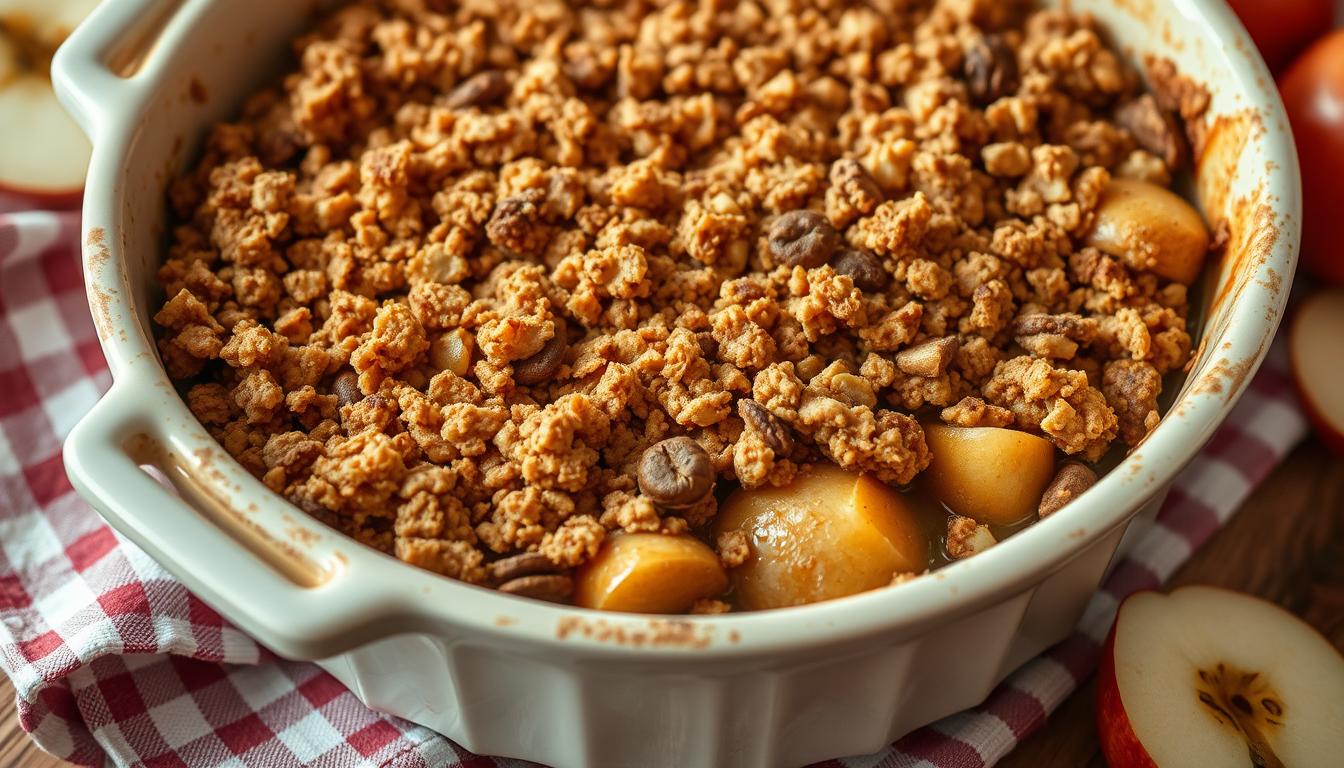
Classic Apple Crisp Recipe Step-by-Step
The art of crafting the perfect apple crisp lies in its simplicity and the quality of its ingredients. This classic dessert is a staple in many American households, and for good reason. It’s easy to make, requires minimal ingredients, and is always a crowd-pleaser.
Preparing the Apples
The first step in making a delicious apple crisp is preparing the apples. This involves peeling, slicing, and seasoning the fruit layer.
Peeling and Slicing Techniques
To peel the apples, use a vegetable peeler or a sharp knife, taking care to remove any bruised or rotten parts. For slicing, a mandoline or sharp knife is recommended. Aim for slices that are about 1/4 inch thick to ensure even cooking.
Seasoning the Fruit Layer
Once the apples are sliced, mix them with sugar, cinnamon, and a pinch of salt in a large bowl. The amount of sugar and cinnamon can be adjusted based on personal preference and the sweetness of the apples. This step is crucial as it enhances the flavor of the apples and adds depth to the dessert.
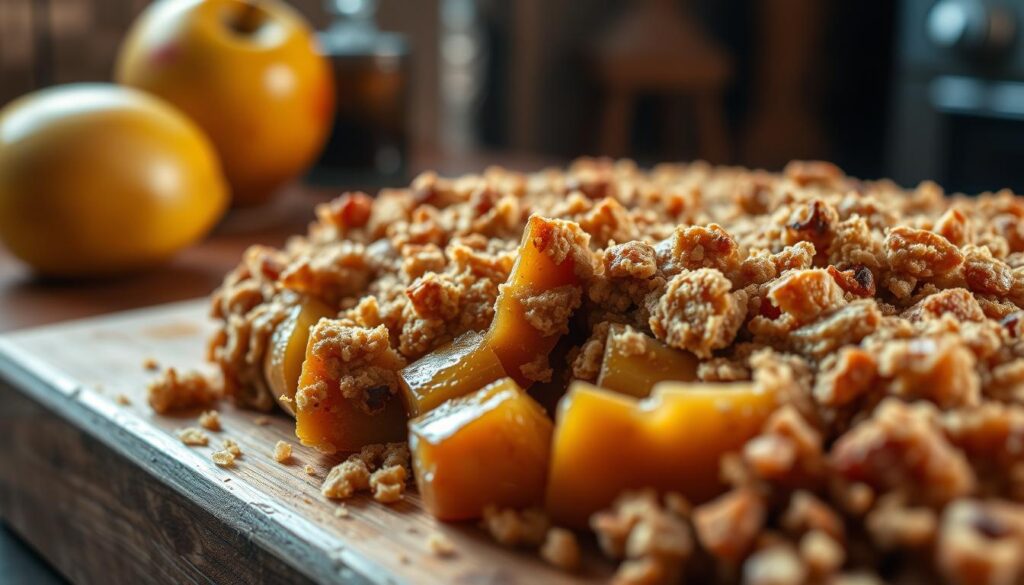
Making the Perfect Crisp Topping
The crisp topping is what gives apple crisp its signature texture and flavor. To make it, combine rolled oats, brown sugar, and cold butter in a bowl. Use your fingers or a pastry blender to work the butter into the dry ingredients until the mixture resembles coarse crumbs.
Assembly and Baking Instructions
To assemble the apple crisp, transfer the seasoned apple mixture to a baking dish and top it with the crisp topping, spreading it evenly.
Temperature and Timing Guidelines
Bake the apple crisp in a preheated oven at 375°F (190°C) for about 35-40 minutes. The exact baking time may vary depending on the size of the baking dish and the depth of the apple layer.
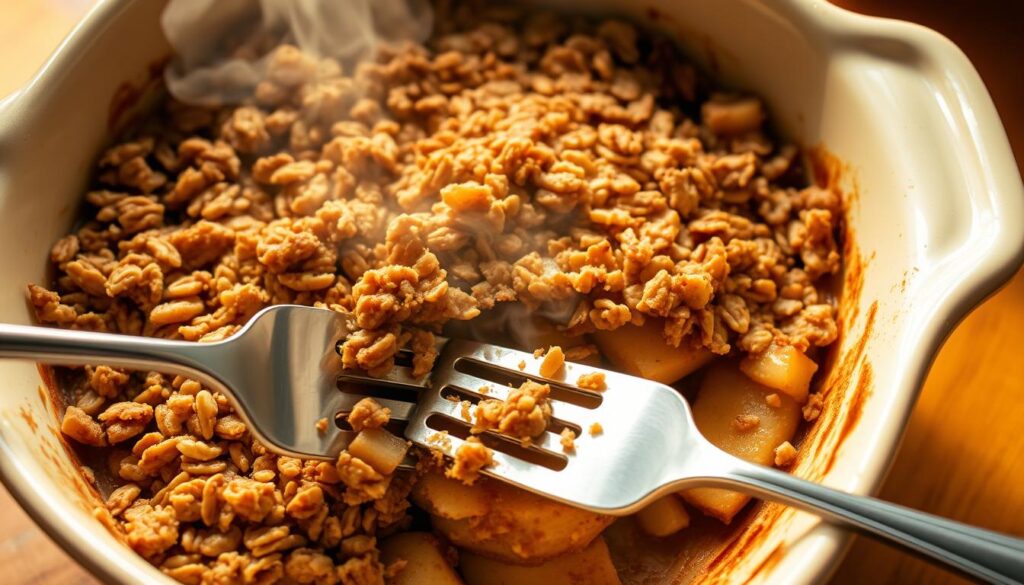
How to Tell When It’s Done
The apple crisp is done when the topping is golden brown and the apples are tender and bubbly. You can check for doneness by inserting a fork or knife into the apples; if it slides in easily, they’re ready.
By following these steps, you’ll be able to create a delicious apple crisp that’s sure to become a family favorite. Enjoy!
Common Mistakes to Avoid When Making Apple Crisp
To ensure your apple crisp turns out perfectly, it’s crucial to avoid some frequent errors. Making apple crisp can be a straightforward process, but several common mistakes can lead to less-than-desirable results.
Apple Selection and Preparation Errors
One of the most critical steps in making apple crisp is selecting the right apples. Using varieties that are too soft or too sweet can result in an undesirable texture or flavor. Choose a mix of sweet and tart apples, such as Granny Smith and Honeycrisp, for the best results. Additionally, ensure that your apples are sliced evenly and not too thickly, as this can affect the cooking time and texture.
Topping Texture Problems
The topping is a crucial component of apple crisp. A common issue is a topping that’s either too crumbly or too dense. To avoid this, use the right ratio of butter to dry ingredients and mix until the topping just comes together. Overmixing can lead to a tough, dense topping.
Baking Missteps
Baking temperature and time are critical. Baking at too high a temperature can cause the topping to burn before the apples are tender. Conversely, baking at too low a temperature can result in a soggy topping. Monitor your apple crisp closely during the baking time, and adjust as necessary.
Serving Timing Issues
Serving apple crisp at the right time is crucial. Serving it too soon after baking can result in a messy, soupy dessert. Let it cool for at least 15-20 minutes before serving to allow the filling to set.
By avoiding these common mistakes, you can ensure your apple crisp is a success. Paying attention to the details in apple selection, topping preparation, baking, and serving timing will result in a delicious dessert that’s sure to please.
- Choose the right apple varieties
- Prepare apples correctly
- Mix the topping just right
- Bake at the correct temperature and time
- Let it cool before serving
Delicious Variations of the Traditional Apple Crisp Recipe
From fruit combinations to dietary modifications, the possibilities for varying apple crisp are endless. This beloved dessert can be transformed in numerous ways to suit different tastes and dietary needs.
Fruit Combinations and Substitutions
One of the simplest ways to give apple crisp a new twist is by experimenting with different fruit combinations or substitutions. Consider adding or substituting fruits like pears, berries, or peaches to create a unique flavor profile.
For example, combining apples with pears can add a sweet and buttery flavor, while mixing in some berries can introduce a tangy contrast.
Dietary Modifications
Dietary restrictions don’t have to mean missing out on the joy of apple crisp. Several modifications can be made to accommodate different dietary needs.
Gluten-Free Options
To make a gluten-free apple crisp, simply replace the traditional oat topping with a gluten-free oat alternative or use almond flour as a substitute.
Vegan Adaptations
For a vegan version, replace butter with a plant-based alternative like coconut oil or vegan butter, and ensure that the sugar used is vegan-friendly.
Reduced Sugar Versions
Reducing the sugar content can be achieved by using natural sweeteners like honey or maple syrup in moderation, or by selecting sweeter apple varieties.
| Dietary Modification | Adjustment | Benefit |
|---|---|---|
| Gluten-Free | Use gluten-free oats or almond flour | Includes those with gluten intolerance |
| Vegan | Replace butter with vegan alternatives | Suitable for a plant-based diet |
| Reduced Sugar | Use natural sweeteners or sweeter apples | Lessens sugar content without losing flavor |
Seasonal and Regional Variations
Apple crisp can also be adapted to reflect seasonal availability of fruits and regional preferences. For instance, using spices like cinnamon or nutmeg can give it a warm, seasonal flavor, while incorporating regional fruits can make it more relatable and fresh.
Serving Suggestions and Pairings
From classic toppings to creative pairings, the ways to enjoy apple crisp are as diverse as they are delicious. Whether you’re serving it at a casual gathering or a special occasion, there are numerous ways to elevate this beloved dessert.
Classic Toppings and Accompaniments
The traditional way to serve apple crisp is à la mode, with a scoop of vanilla ice cream melting into the warm, oat-topped fruit. Alternatively, whipped cream or a dollop of crème fraîche can add a rich, creamy contrast to the crunchy topping.
Beverage Pairings
When it comes to beverage pairings, apple crisp can be complemented by a variety of drinks. For a cozy evening, consider serving it with a warm cup of coffee or tea. For a more festive occasion, a glass of dessert wine or a sparkling cider can be a delightful match.
| Beverage | Description |
|---|---|
| Coffee | A warm, comforting choice that pairs well with the sweetness of apple crisp. |
| Dessert Wine | A sweet, rich wine that complements the flavors of the apple and oat topping. |
| Sparkling Cider | A refreshing, fruity option that cuts through the richness of the dessert. |
Presentation Ideas for Special Occasions
For special occasions, consider presenting your apple crisp in individual ramekins or decorative baking dishes. This not only adds a touch of elegance but also makes serving easier.
Making Ahead for Gatherings
Apple crisp can be made ahead and refrigerated or frozen until serving. Simply bake or reheat as needed, making it an ideal dessert for gatherings and parties.
Storage and Reheating Tips
To keep your apple crisp fresh and warm for later, follow these storage and reheating tips.
Proper Storage Methods
Store your apple crisp in an airtight container to maintain its freshness. If you plan to consume it within a day or two, you can store it at room temperature. For longer storage, refrigerate it to keep it fresh for up to 5 days.
Best Practices for Reheating
Reheating your apple crisp can be done in the oven or microwave. For oven reheating, preheat to 350°F (175°C) and warm it for about 15-20 minutes, or until it’s heated through and the topping is crispy. Microwave reheating is quicker, taking about 1-2 minutes, but be cautious as the topping might not remain crispy.
Freezing Instructions
Apple crisp can be frozen for longer storage. Let it cool completely, then cover it tightly with plastic wrap or aluminum foil and freeze. When you’re ready to enjoy it, simply thaw it overnight in the refrigerator and reheat as desired.
Using Leftovers Creatively
Don’t let leftovers go to waste! Consider using them as a topping for yogurt or oatmeal, or as a filling for crepes or pancakes. You can also mix it with ice cream for a delicious dessert.
| Storage Method | Duration | Reheating Tips |
|---|---|---|
| Room Temperature | 1-2 days | Oven or Microwave |
| Refrigerator | Up to 5 days | Oven for crispiness |
| Freezer | Up to 3 months | Thaw overnight, reheat |
Conclusion: Enjoying Your Homemade Apple Crisp
Now that you’ve successfully made your homemade apple crisp, it’s time to savor the fruits of your labor. The combination of tender apples, crunchy oat topping, and sweet cinnamon is sure to bring you and your loved ones immense enjoyment.
As you’ve learned throughout this article, making apple crisp is a straightforward process that requires minimal ingredients and equipment. Feel free to experiment with different apple varieties, spices, and toppings to create your unique flavor profile.
Share your homemade apple crisp with family and friends, and don’t be surprised if it becomes a new favorite dessert. The joy of baking lies not only in the process but also in the delight of those who get to enjoy the final product.
So go ahead, take a bite, and relish the warmth and comfort that your homemade apple crisp brings. It’s a delicious conclusion to any meal, and a perfect treat to enjoy on its own.
FAQ
What is the best apple variety to use for apple crisp?
The best apple varieties for apple crisp are those that are firm and tart, such as Granny Smith, Honeycrisp, or a mix of sweet and tart apples like Gala and Fuji.
Can I make apple crisp ahead of time?
Yes, you can prepare the apple filling and topping separately and store them in the refrigerator for up to a day before assembling and baking. You can also freeze the assembled apple crisp for up to 3 months.
How do I achieve a crunchy topping on my apple crisp?
To achieve a crunchy topping, make sure to use the right ratio of butter to oats and brown sugar, and avoid overmixing the topping. You can also try using a combination of rolled oats and chopped nuts for added texture.
Can I make a gluten-free apple crisp?
Yes, you can make a gluten-free apple crisp by substituting the all-purpose flour with a gluten-free flour blend and using gluten-free oats.
How do I store leftover apple crisp?
To store leftover apple crisp, let it cool completely, then cover it with plastic wrap or aluminum foil and refrigerate for up to 3 days. You can also freeze it for up to 3 months and reheat it in the oven or microwave.
What are some creative ways to use leftover apple crisp?
You can use leftover apple crisp as a topping for yogurt or oatmeal, or as a filling for cakes and muffins. You can also repurpose it into a new dessert, such as apple crisp bread pudding or apple crisp ice cream.
Can I make apple crisp in a slow cooker?
Yes, you can make apple crisp in a slow cooker by layering the apple filling and topping in the slow cooker and cooking on low for 2-3 hours.
How do I reheat apple crisp to maintain its texture?
To reheat apple crisp, bake it in a preheated oven at 350°F (175°C) for 15-20 minutes, or until warmed through and crispy. You can also reheat it in the microwave, but be aware that the topping may become soggy.